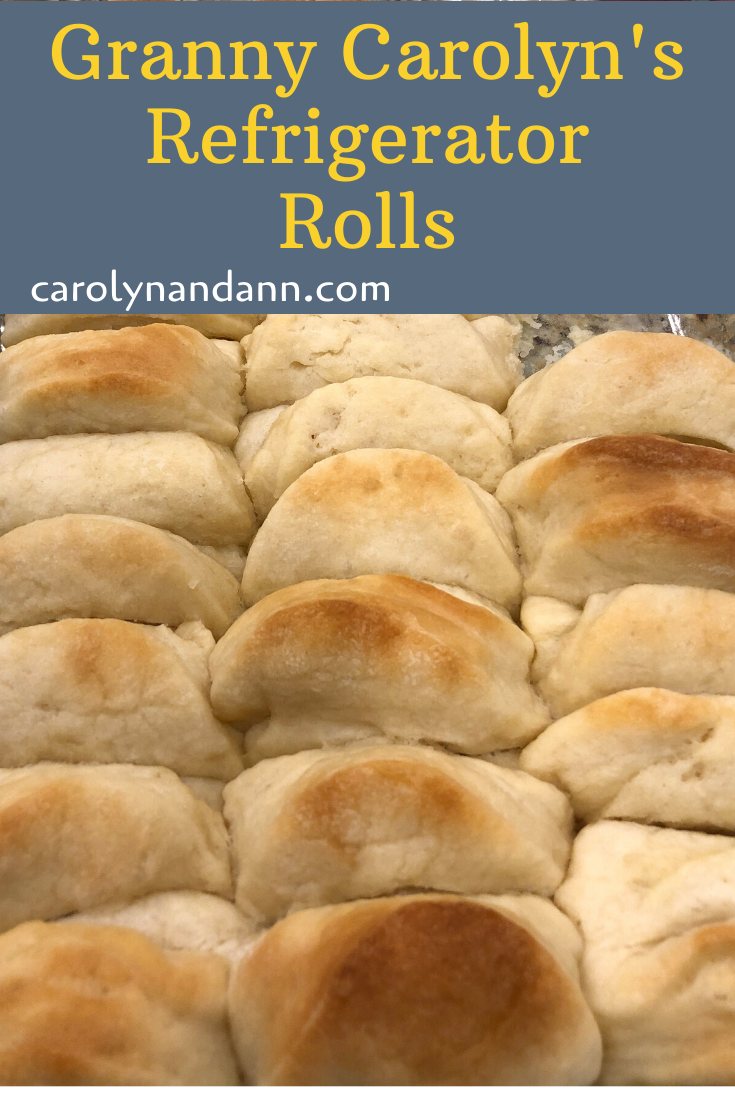
Granny Carolyn’s Refrigerator Rolls
Granny Carolyn’s Refrigerator Rolls smell like heaven while they’re baking, and the warm, buttery bread nearly melts in your mouth. Whatever your special occasion – a holiday, a celebration, a Sunday family dinner, or just a Tuesday – these will absolutely be a hit!
One of my favorite and earliest memories is “helping” my Granny Carolyn cook dinner in her kitchen. She was the director of my preschool so I came home with her after school, and my mom picked me up on her way home from work. It was a pretty fantastic deal for me. Being the middle child, I didn’t get a lot of one-on-one time with my parents or grandparents, so I soaked in all of this attention that I could get.
These early days formed in me my love for being in the kitchen. The memories I have cooking with Granny Carolyn, the family meals as a teenager when the family would linger after dinner and laugh together at the table, and the moments I have now to teach my girls are the essence of bonding with those I love. So any time I make a recipe that that sweet woman so patiently taught me, I can’t help but reminisce just a little bit.

One of those recipes is Refrigerator Rolls. We don’t have a holiday without these rolls. We can’t. It’s tradition, and they are just that good. In fact, I introduced these to my in-law family, and now they are required for our holiday celebrations as well. Although they do take a little time, I don’t mind making them. There is just too much love in that recipe, and I feel it every time I pull out the giant mixing bowl.
Let’s make Granny Carolyn’s Refrigerator Rolls
The day before…
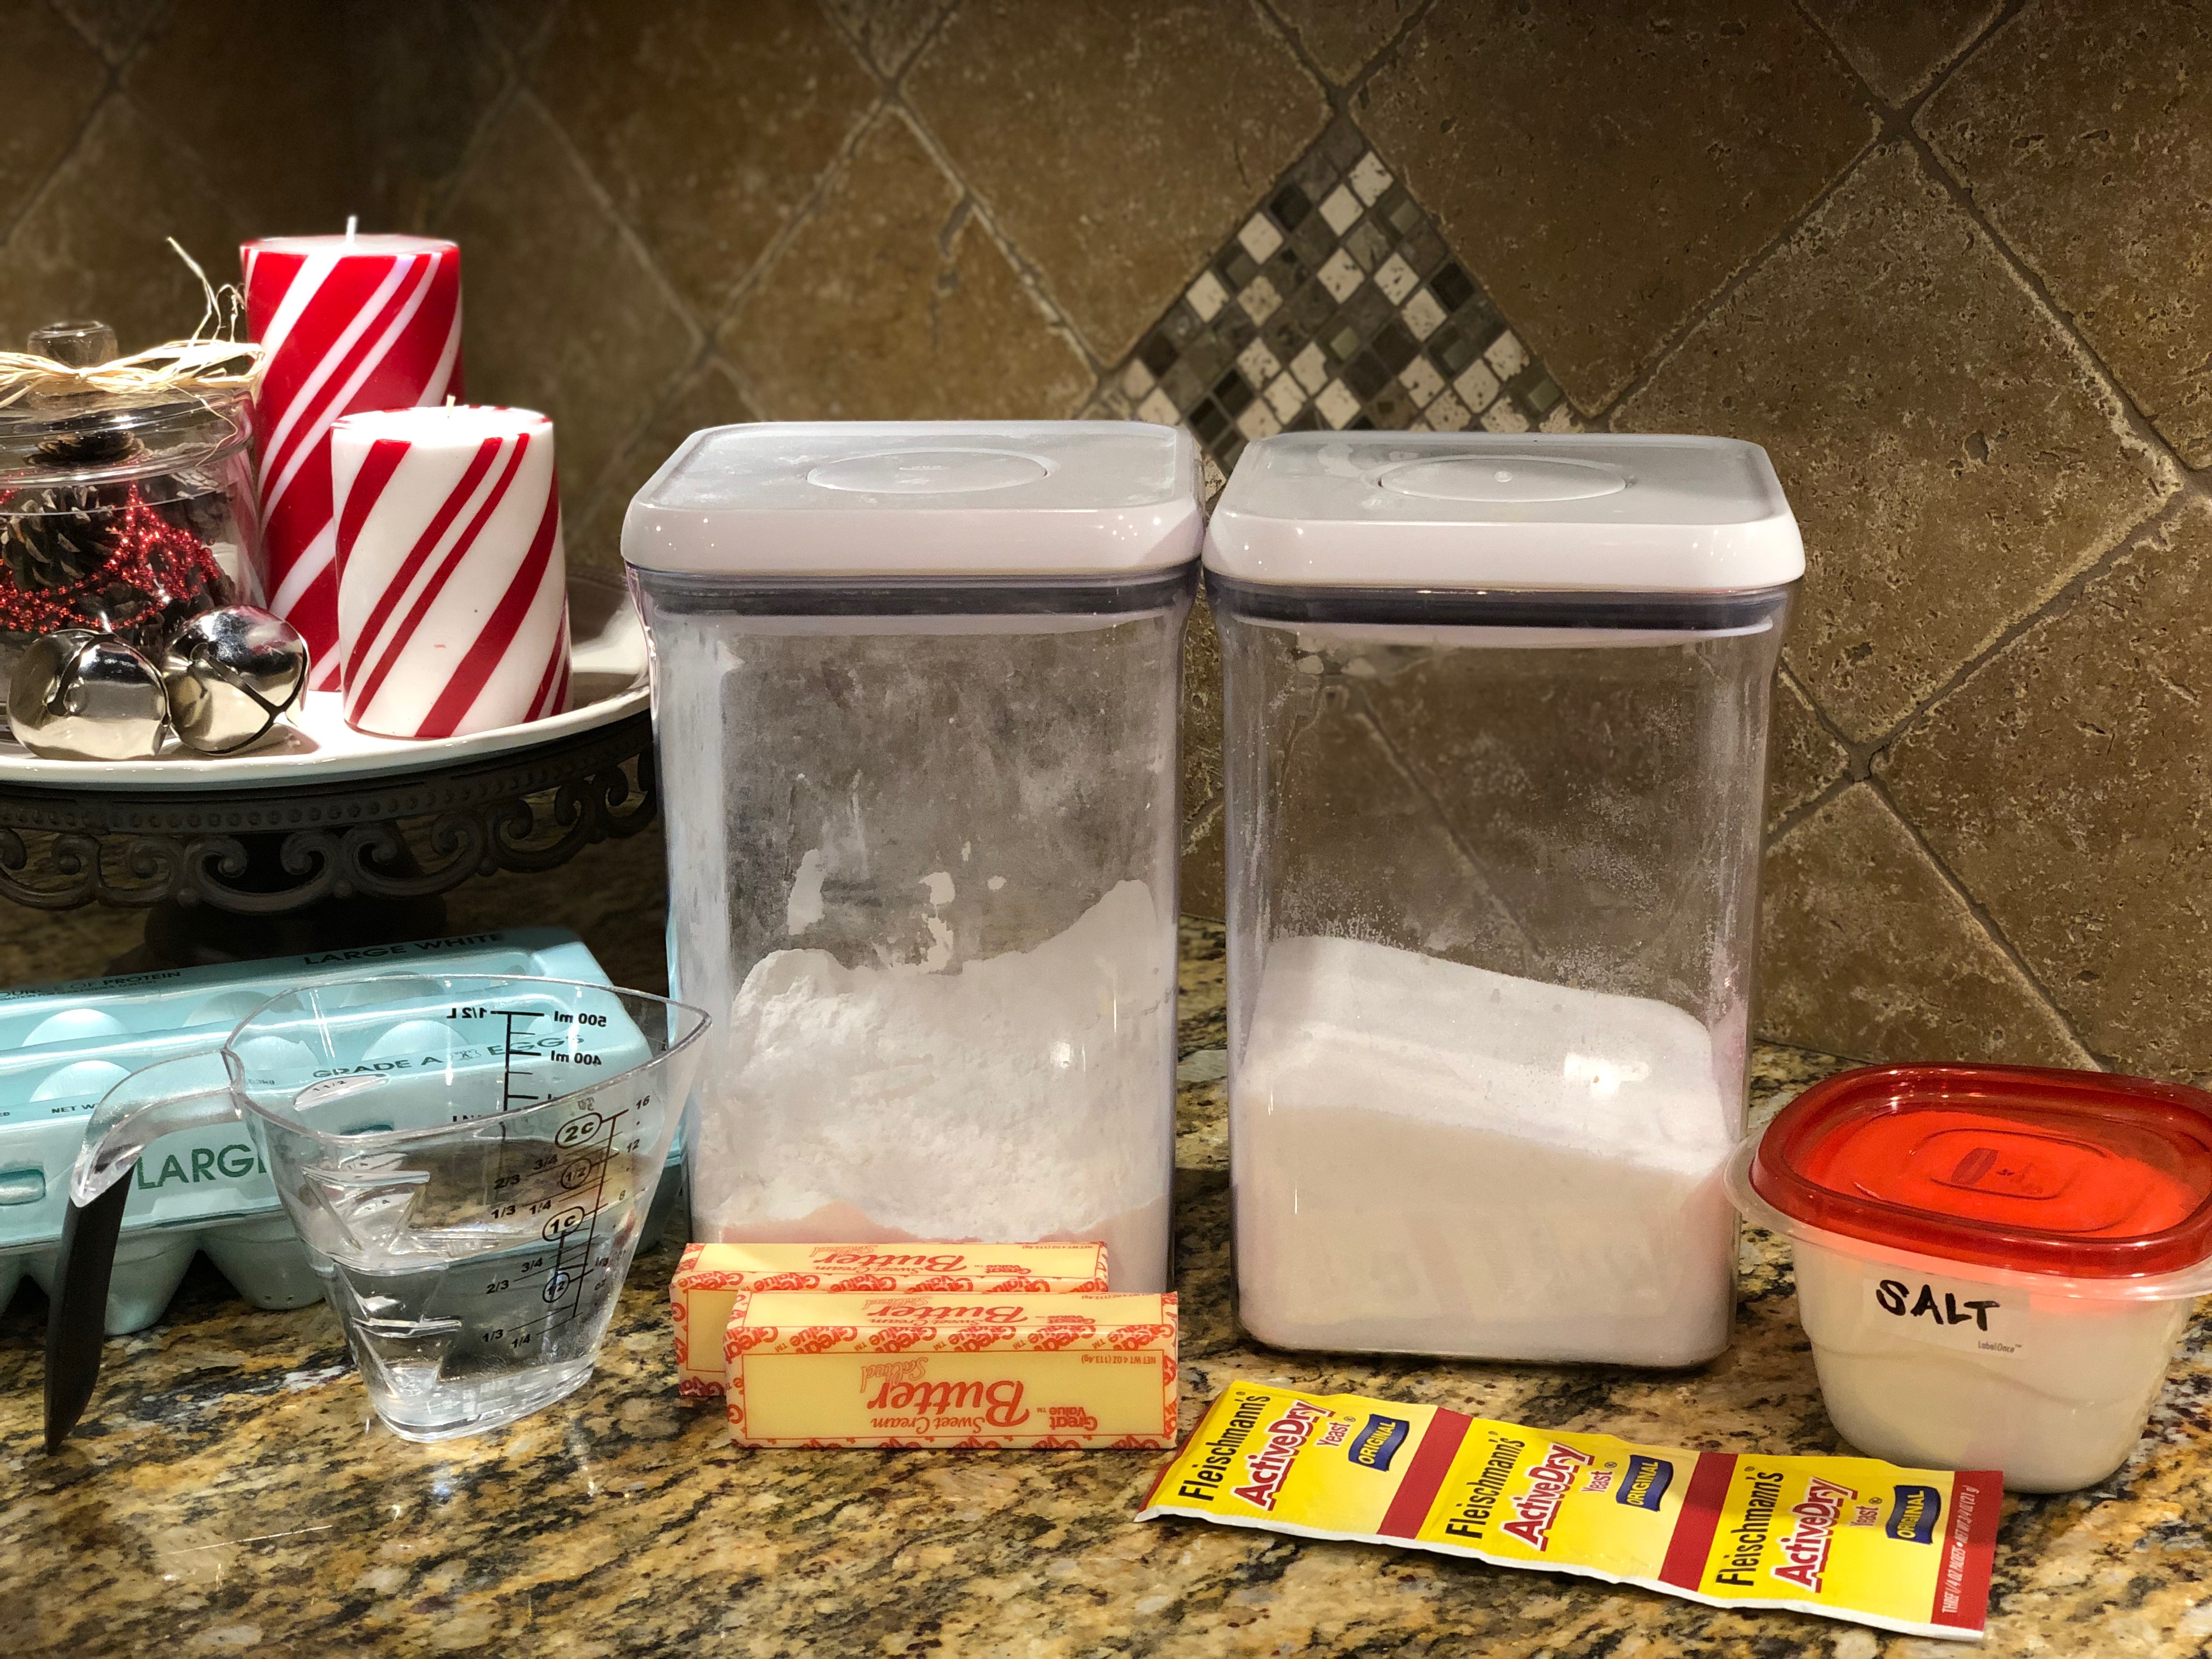
These rolls sit in the refrigerator overnight so be sure to plan ahead. For the dough, you’ll need yeast, flour, butter, egg, sugar, and boiling water. You’ll also need a very large bowl, a big spoon (I use a wooden one), and some arm strength.
Mix your yeast and water in a small bowl. Let it sit and ferment. Smells like bread already.
Melt your butter and pour it into your large bowl. The bowl I like to use is metal. Otherwise, I would just melt it in the bowl in the microwave. Since I don’t want to see fireworks today, or replace a microwave, or put out a kitchen fire, I’m just pouring in my melted butter.
Start your water on the stove so it can boil. It’s not much so it will boil quickly. Pour in the sugar and yeast. Now pour in the boiling water. Mix so the sugar melts and everything combines.
Slightly beat your eggs and temper them with the hot liquid. (Tempering means you bring the egg temp up so when you mix it into the hot contents of the bowl, the eggs won’t scramble. Do this by spooning a little bit of the hot liquid into the eggs and stirring.) Pour the tempered eggs into the large mixing bowl and combine well.
Time to add some flour. Two cups at a time, mix in the flour. Once the first two cups are combined, add the next two. This is where your arm starts to work. Every time I stir those last two cups, I think about how I used to wonder how Granny Carolyn did it – she always seemed so strong to 5-year-old me because that is some thick dough!
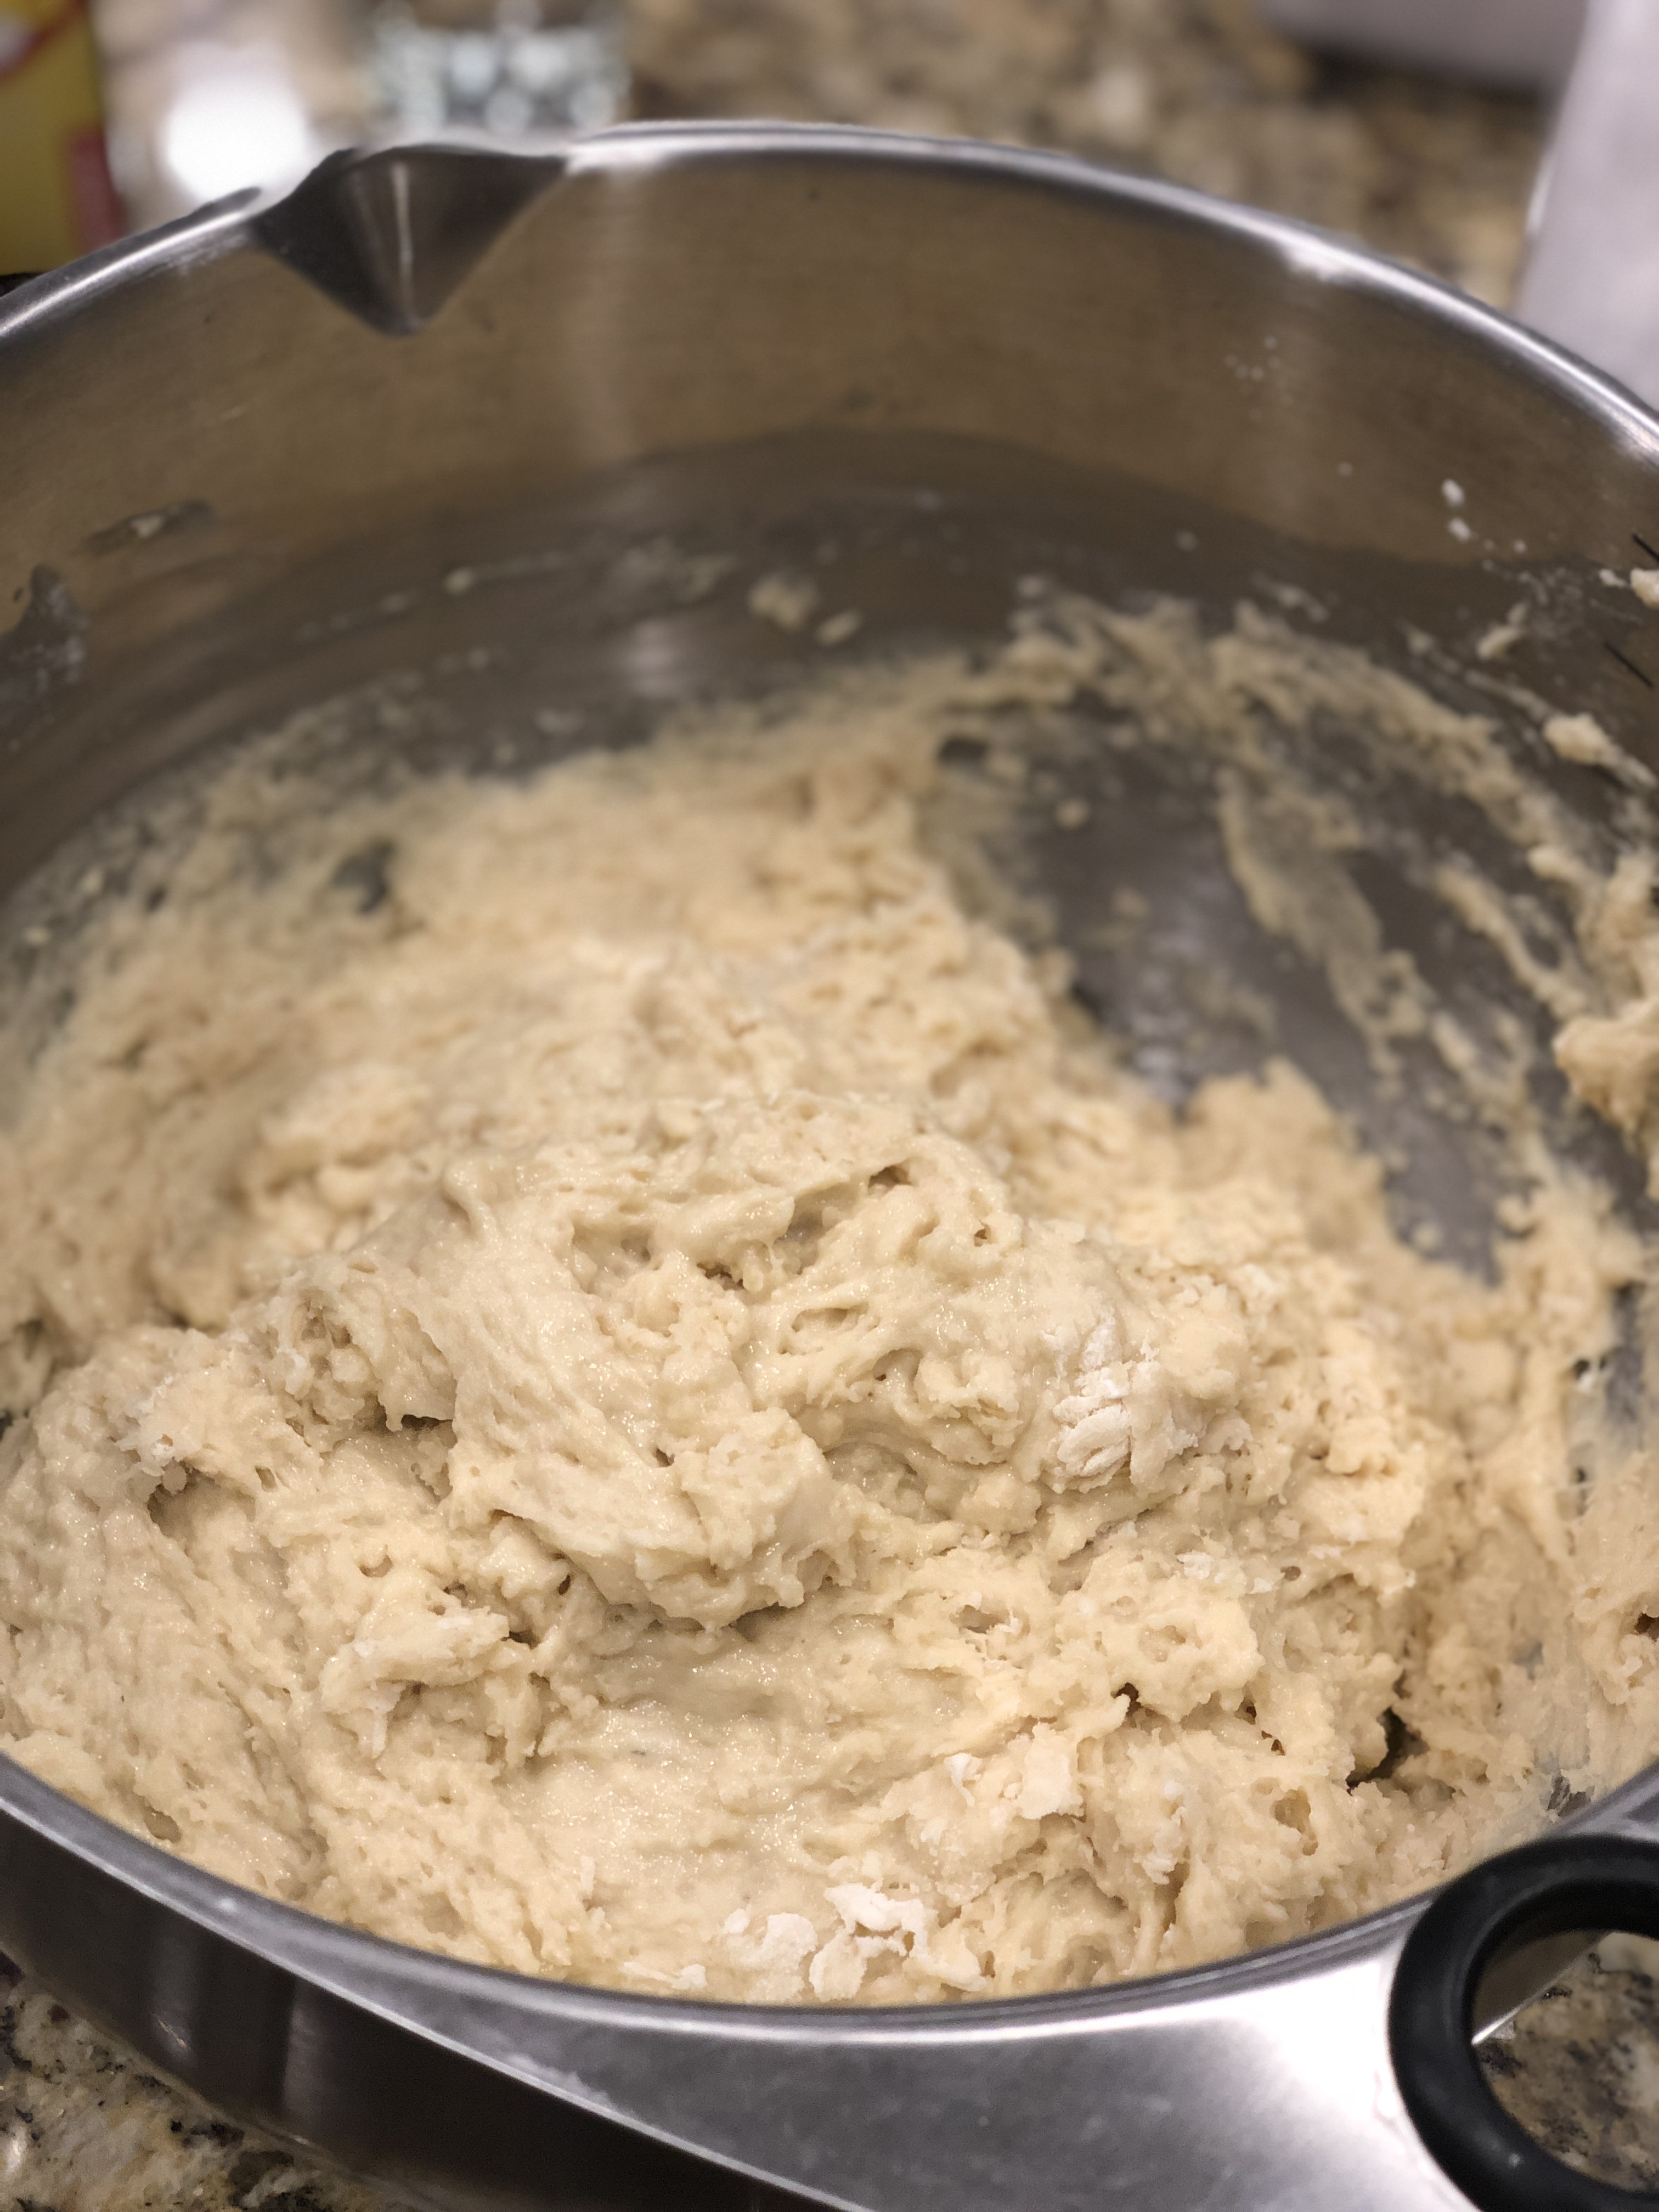
Now, cover the bowl with plastic wrap. I spray the wrap with cooking spray in case the dough rises that much. Put the bowl in the refrigerator overnight. Rest. Your arms just did a good workout!
Two hours before baking…
These rolls rise for two hours before baking so be sure to plan accordingly. It will take about thirty minutes to roll and cut the dough. First, we have to do a little prep. Spray two 9×13 pans with cooking spray. Then, melt some butter in a small bowl. You will also want to grab some clean kitchen towels that you’ll use later to cover the rolls. Prepare your rolling surface by flouring it generously. Now you are ready!
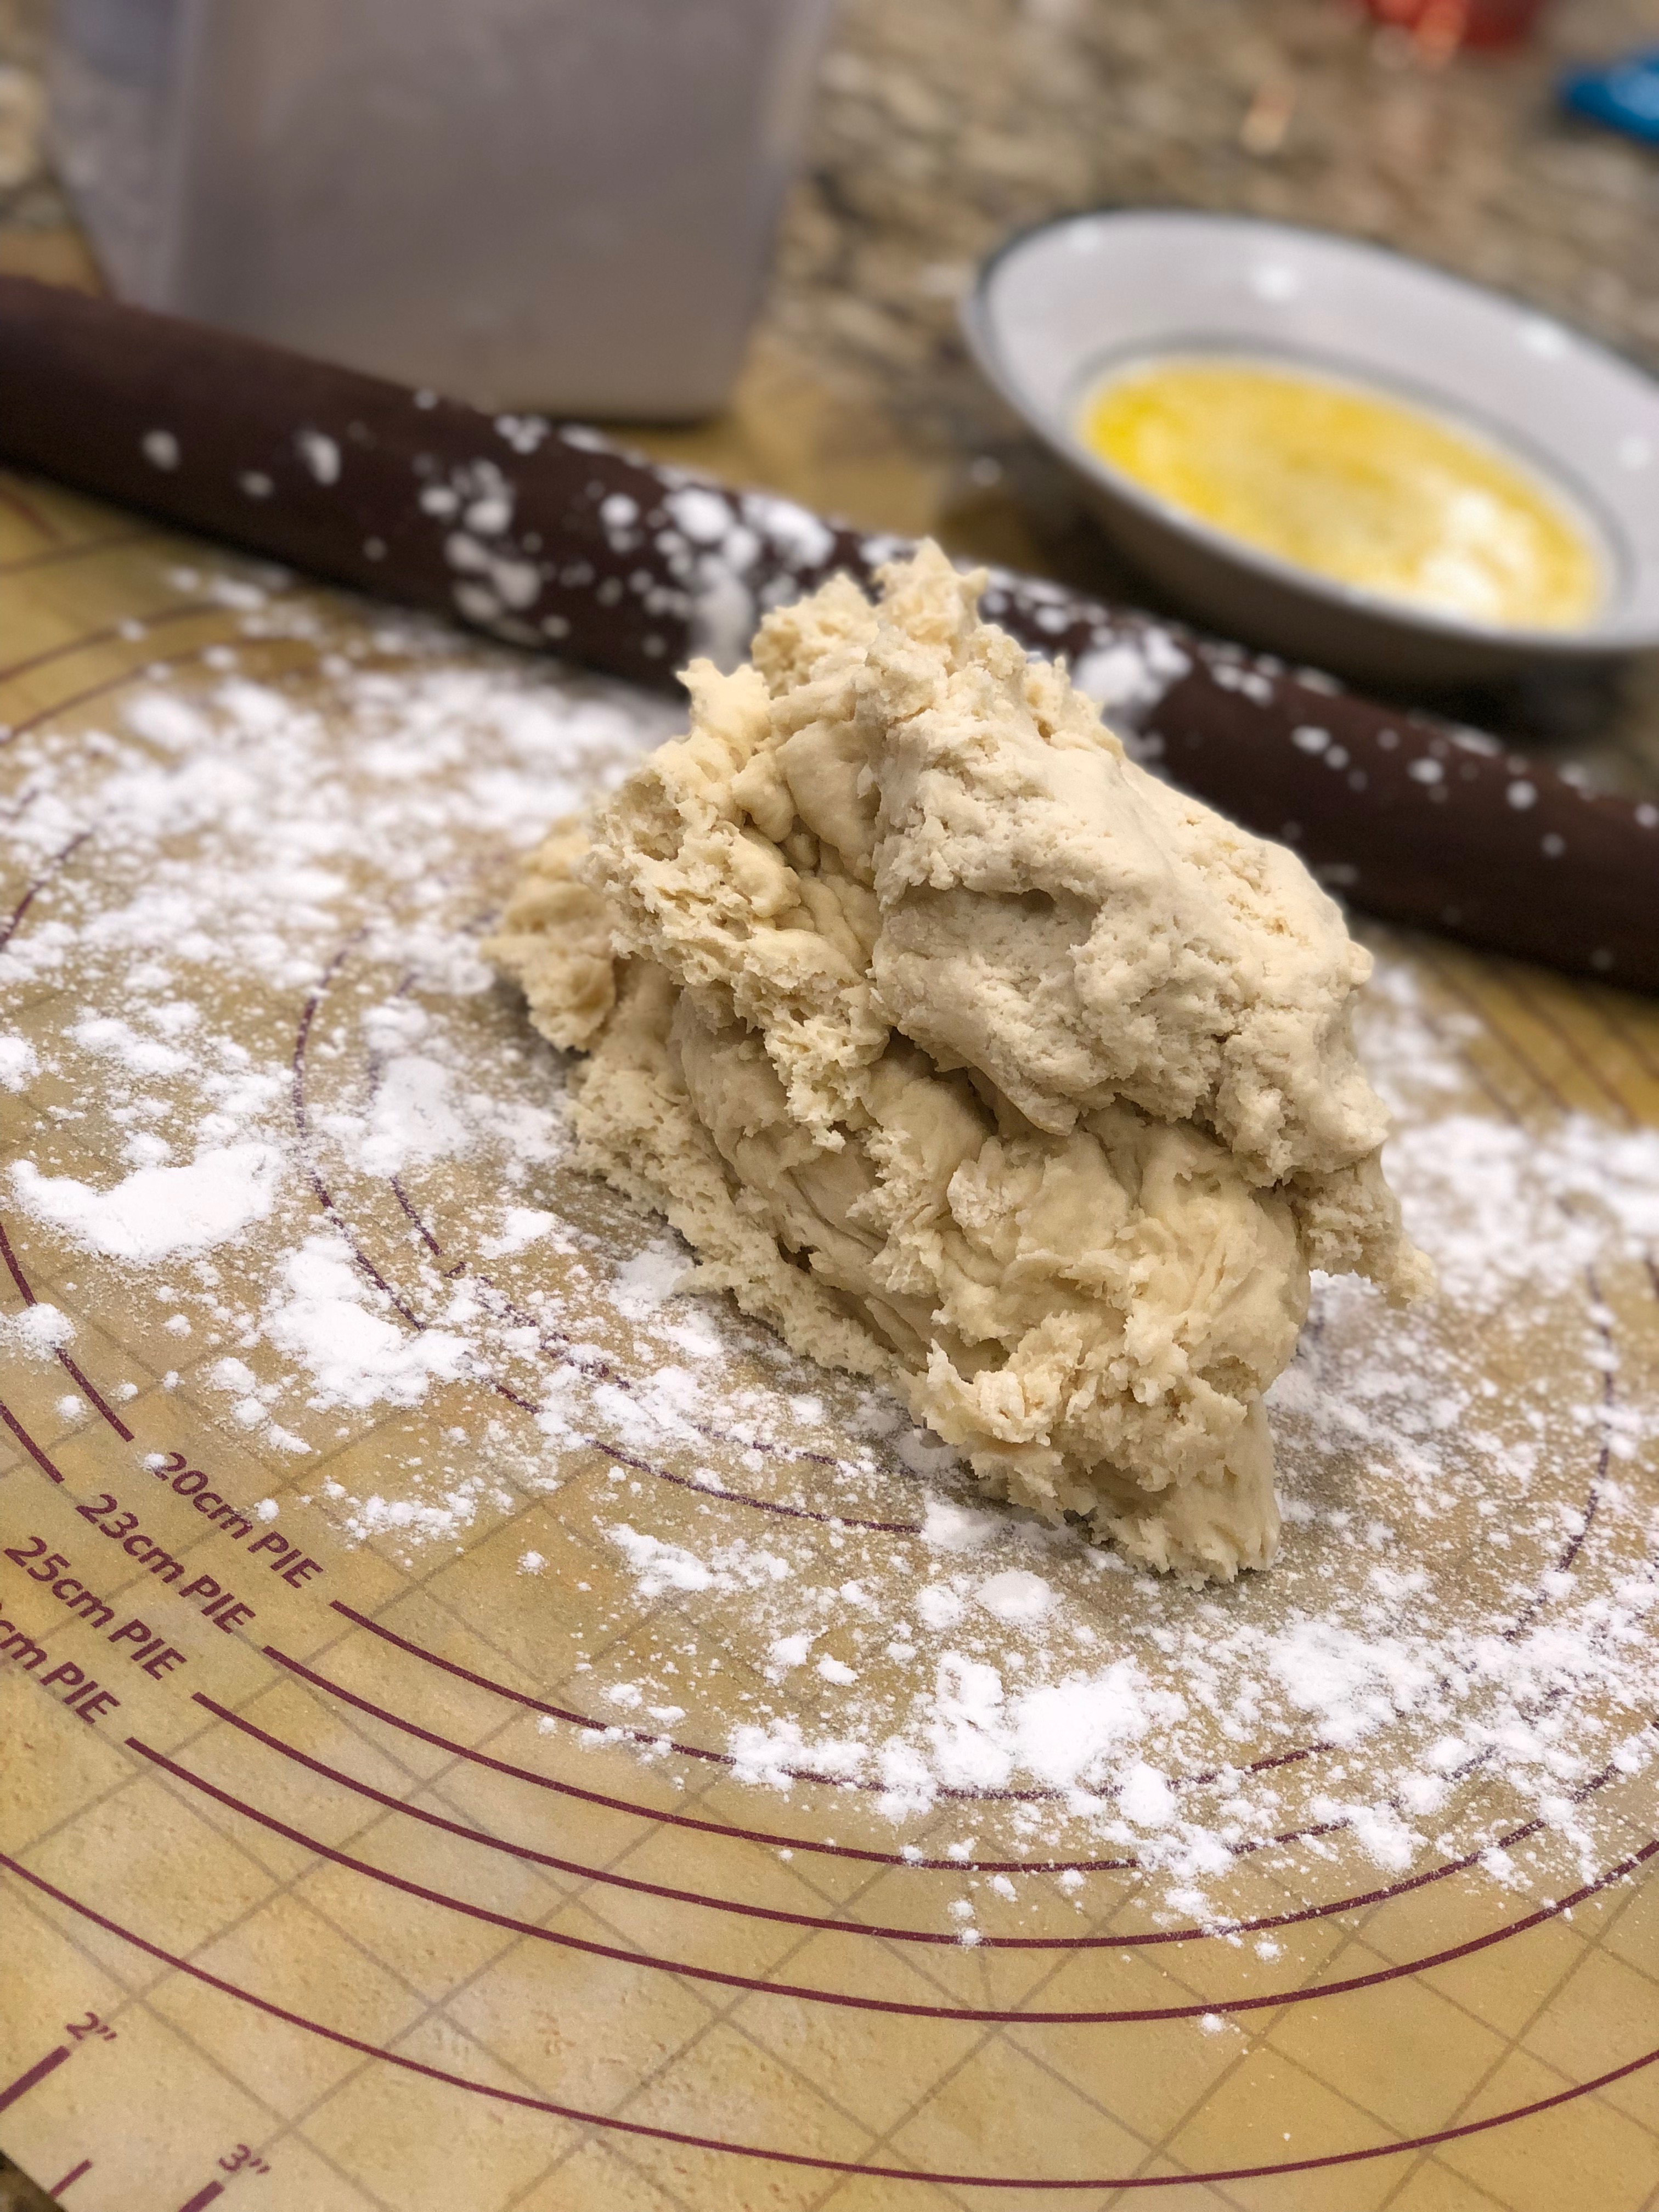
Remove about a third of the dough from the mixing bowl and set it on your well-floured surface. Flour your hands, your rolling pin, your kids. (Ok. Don’t do that. You’ll have enough of a mess to clean up without that.) But seriously, this stuff is a bit sticky. Roll the dough to about a third or a half inch thickness. Use a biscuit cutter or a drinking glass to cut the rolls.
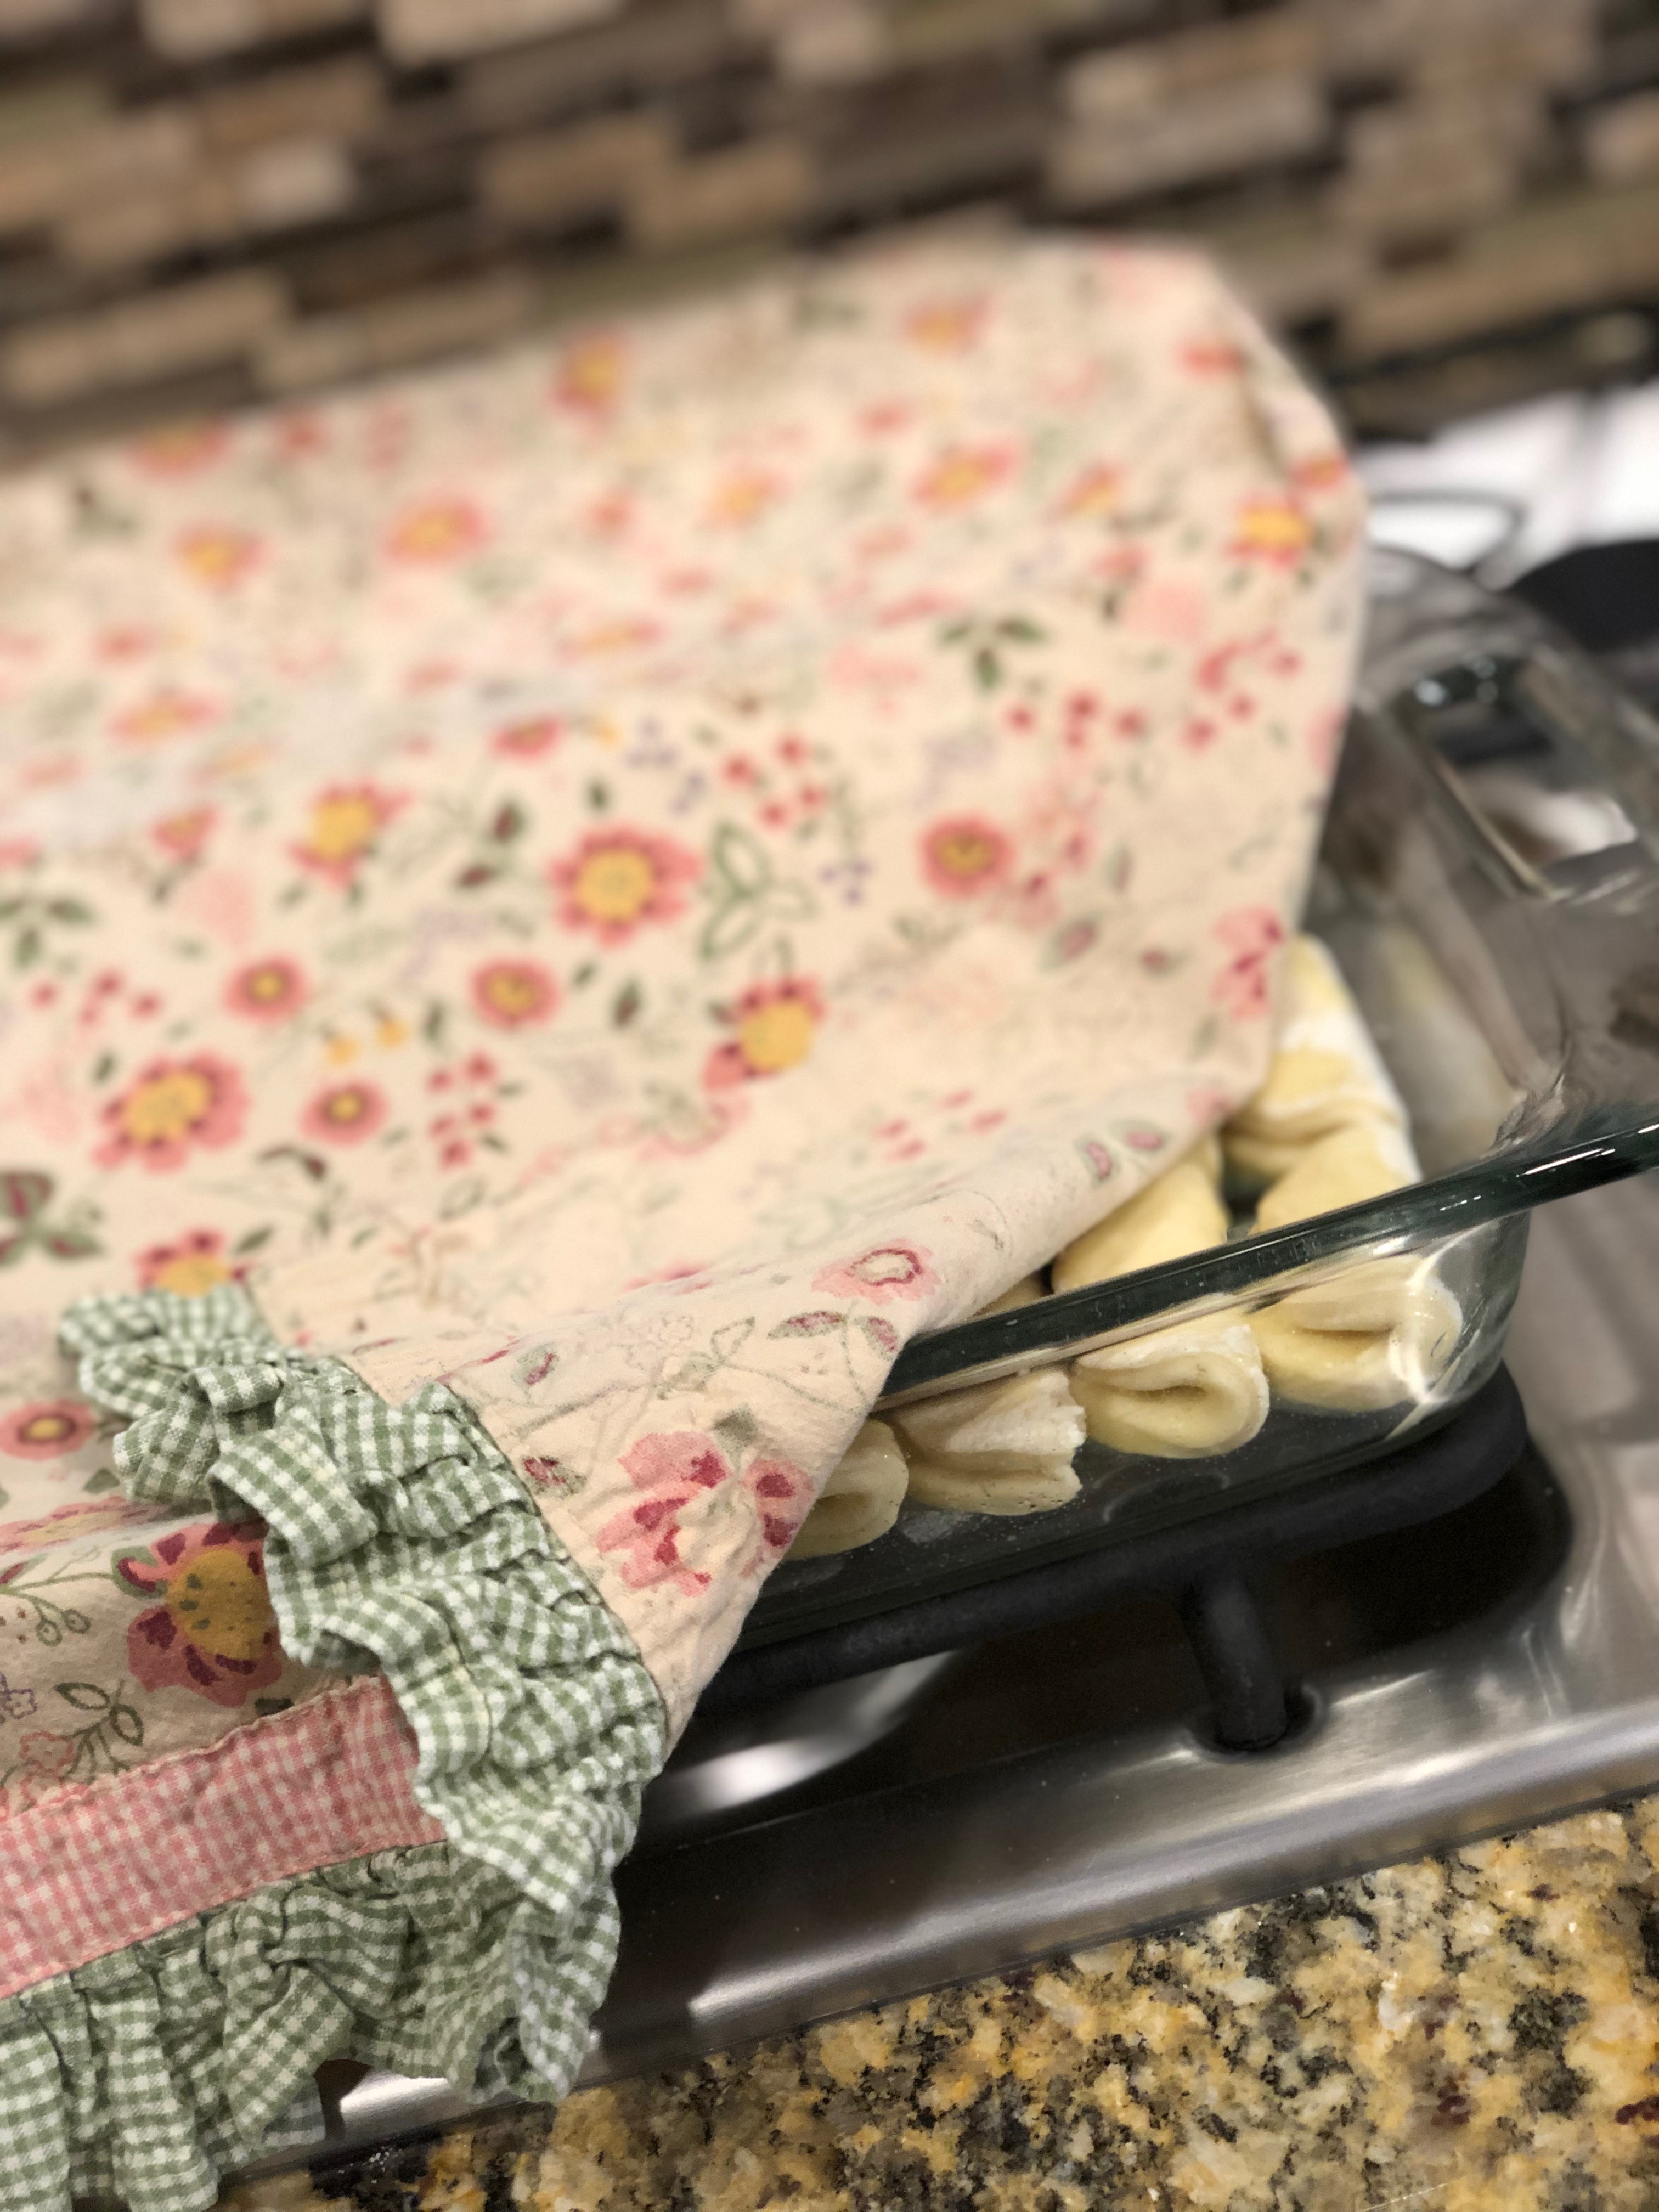
Here’s the fun part. Dip half of the cut roll into the bowl of butter. Place the buttered side in the 9×13 pan and fold the dipped side over the top so it looks kind of like a mini taco shell. (Yum, tacos! We’ll make those later…) Repeat until all the dough is cut and in the pans. Cover the pans with the clean kitchen towels and let them rise in a warm place for about two hours or until they have doubled in size.
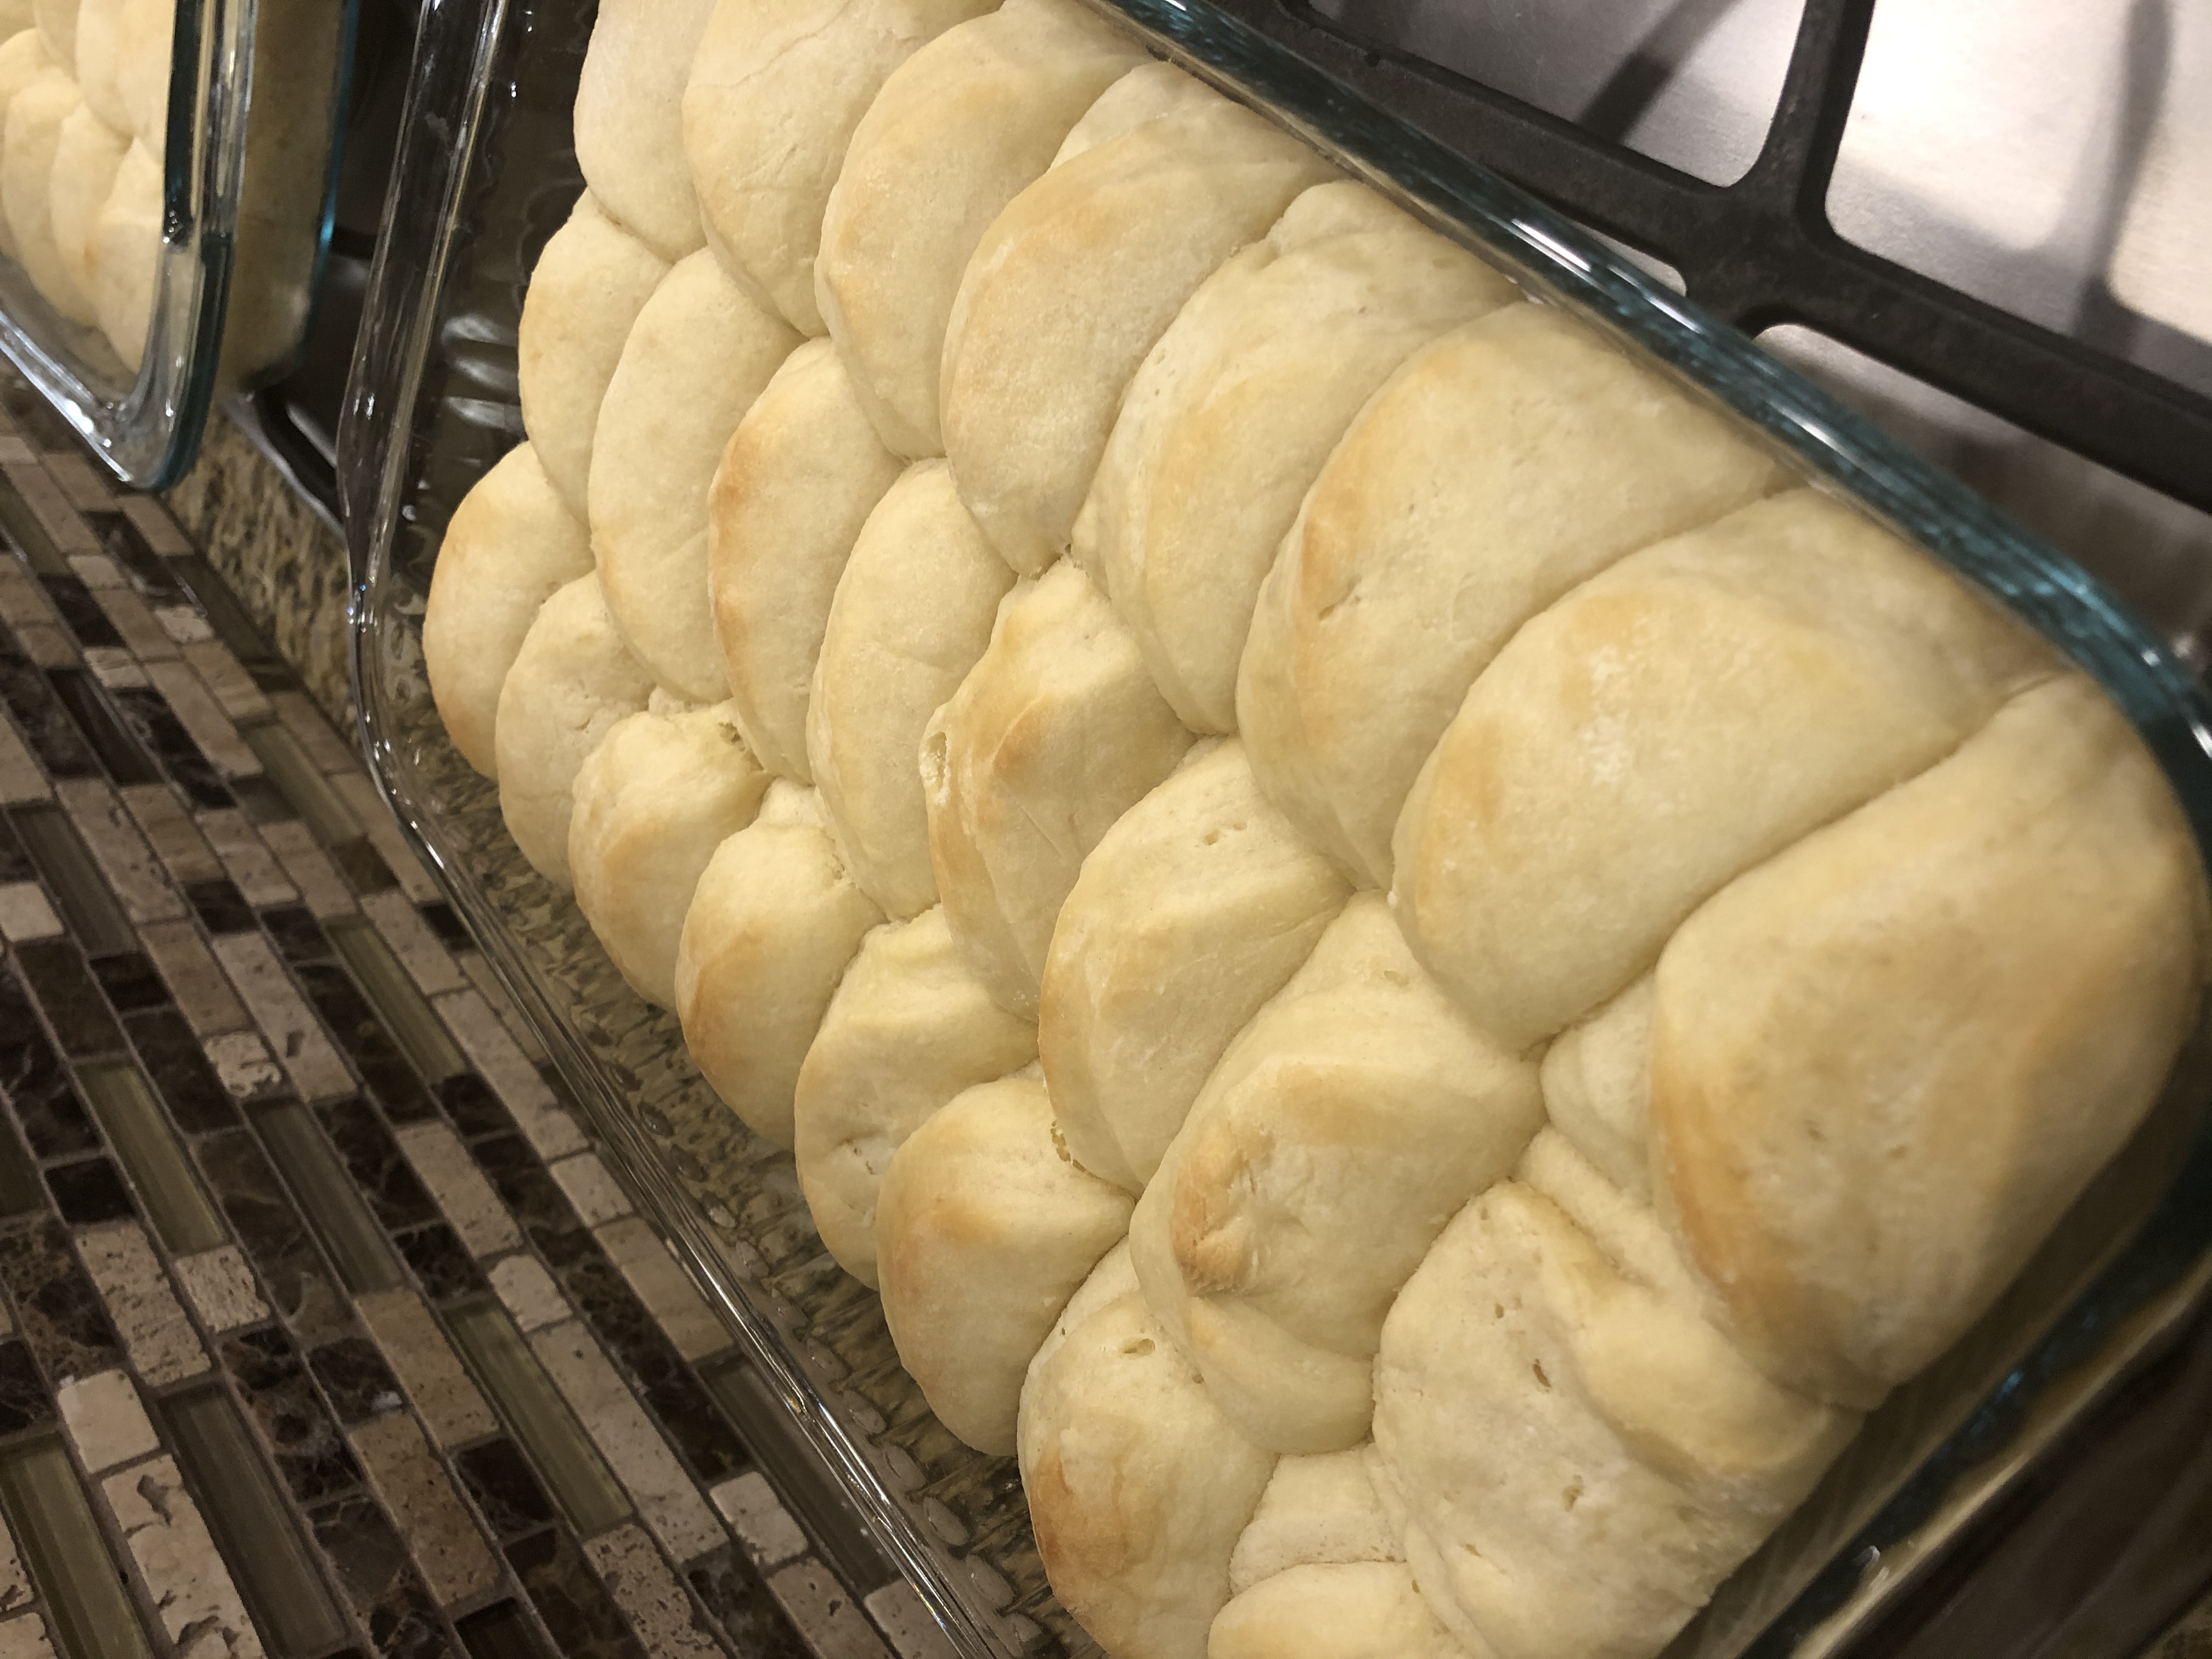
Let’s bake and eat Granny Carolyn’s Refrigerator Rolls!
Bake in a 350 degree oven for about 15-20 minutes until golden brown on top.
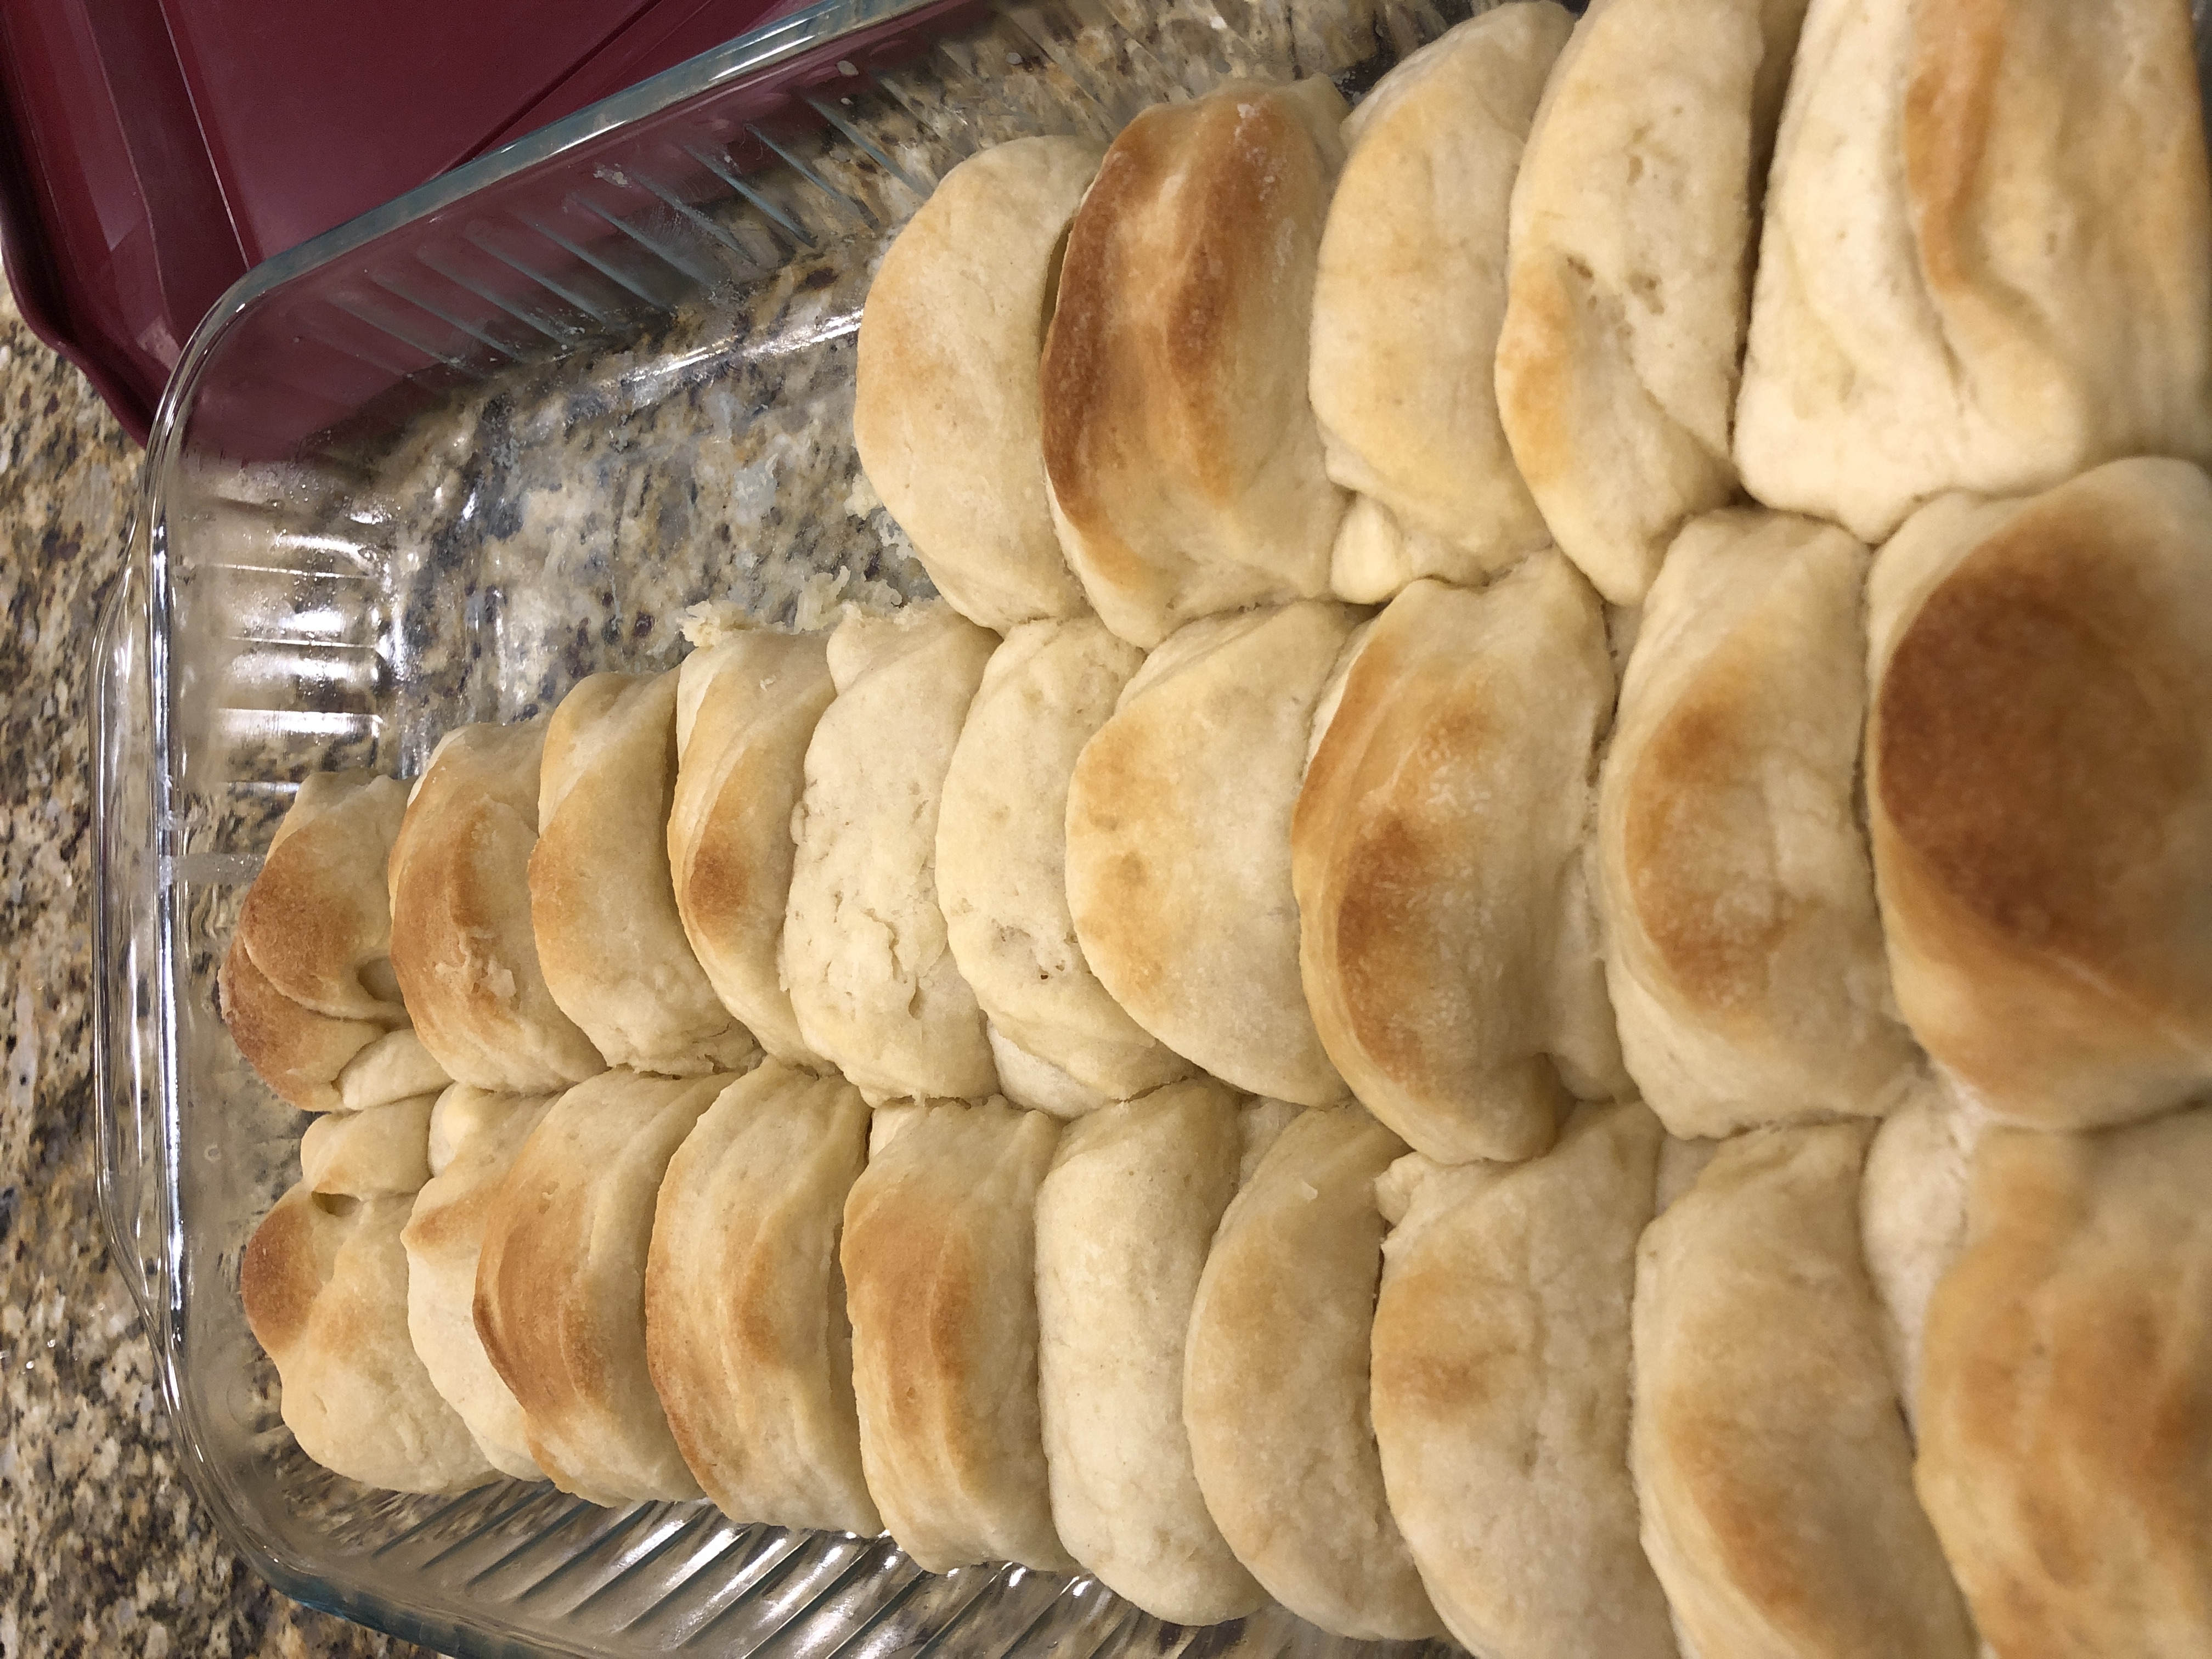
Important rule: Always take one roll once they come out of the oven and test it. Always. (Be careful. They are hot! As my mom says, “You would be, too, if you were in the oven.) As long as you don’t burn your mouth, you will not be disappointed in your decision to test one. You probably won’t care much even if you do burn your mouth! These rolls are that good!
Warning: if you make these rolls once, they will be requested many more times. Don’t say I didn’t warn you!
Granny Carolyn’s Refrigerator Rolls

Ingredients
- 2 pkgs dry yeast
- 1 C lukewarm water
- 1 C butter (2 sticks)
- 2/3 C sugar
- 1 C boiling water
- 2 eggs
- 6 C flour, plus more for dusting
- 1/2 C butter, melted (1 sticks)
Instructions
- Dissolve 2 packages of dry yeast in 1 cup lukewarm water.
- Mix together in large bowl: 1 cup butter, 2/3 cup sugar, and 1 cup boiling water.
- Add yeast and 2 slightly beaten eggs.
- Incorporate 6 cups of flour, 2 cups of flour at a time. Mix well after each addition.
- Cover bowl with plastic wrap and refrigerator for at least 12 hours.
- Roll out desired amount.
- Cut with a biscuit cutter and dip half way into melted butter.
- Fold over and place in a prepared 11×13 pan. (Full recipe will fill two pans.)
- Cover the pan with a towel, and let rise about 2 hours
- Bake in 375 degree over for about 15 minutes, until tops of rolls become golden.